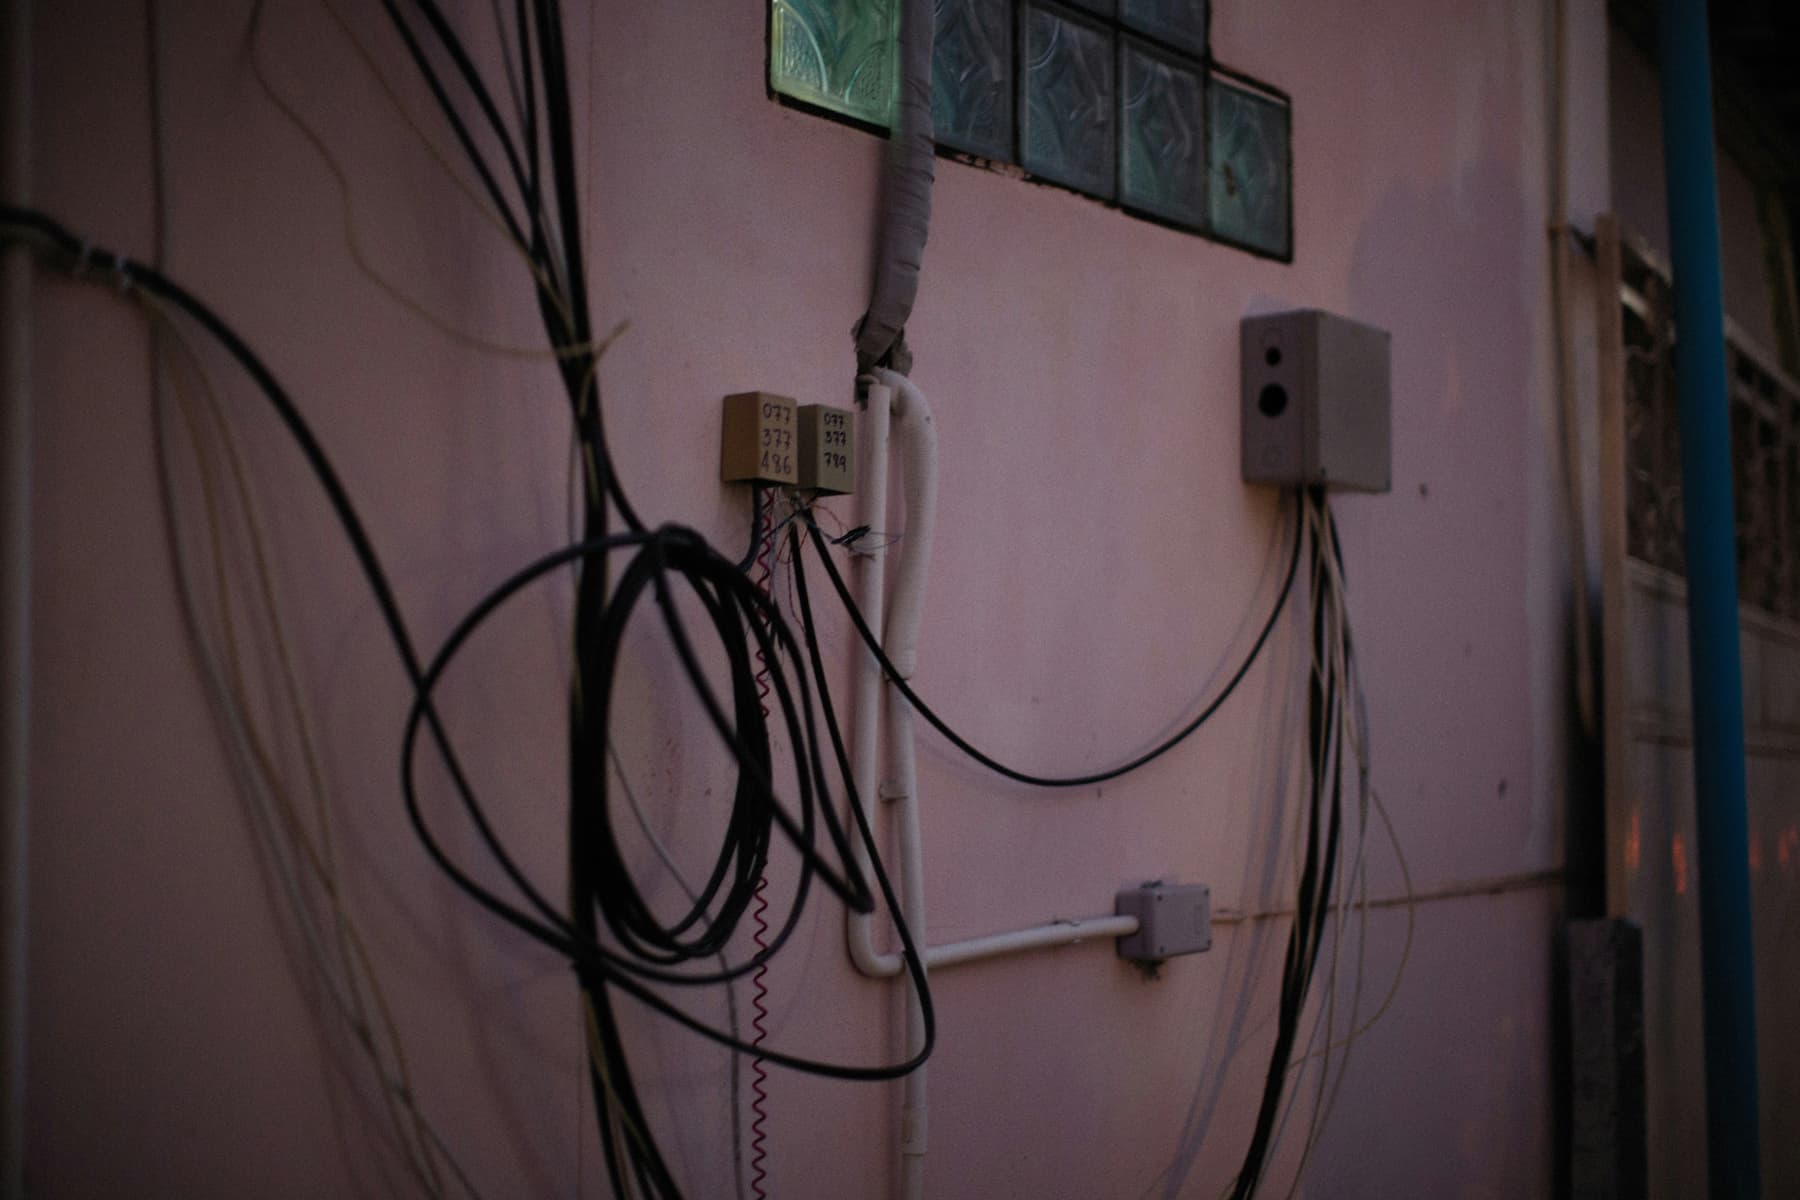
When we fall in love with a mid-century home, it’s rarely because of what’s behind the walls. We’re captivated by the open floor plans, walls of glass, and distinctive architectural details. Yet for all their forward-thinking design, mid-century homes often harbor electrical systems that were cutting-edge in 1958 but potentially hazardous by today’s standards.
At Clyne Heritage Homes, we understand the delicate balance between preserving architectural authenticity and ensuring modern safety and functionality. Nowhere is this balance more critical than with electrical systems and lighting—elements that impact both safety and aesthetics. Here’s our comprehensive guide to upgrading mid-century electrical systems while honoring period lighting design.
Understanding What You’re Working With
Common Electrical Systems in Mid-Century Homes
Mid-century homes (generally built between 1945-1975) typically feature electrical systems that reflect the more limited demands of the era:
Service Panels
- 60-amp service (compared to modern 200-amp minimum)
- Fuse boxes rather than circuit breakers in homes built before the 1960s
- Early circuit breaker panels that may now be considered unsafe (Federal Pacific, Zinsco)
Wiring Types
- Cloth-wrapped wiring (1940s-early 1950s)
- Aluminum wiring (common in 1960s-1970s)
- Early Romex without grounding (two-prong outlets)
- Knob-and-tube wiring in some older homes that were updated during the mid-century period
Outlet and Switch Configurations
- Limited number of outlets per room
- Few dedicated circuits for specific appliances
- Rarely GFCI protected in kitchens or bathrooms
- Distinctive, often bakelite switches and outlet covers
“Most mid-century homes were designed when people owned maybe one television, a radio, and a few small appliances,” explains master electrician Thomas Reynolds. “Today’s technology-driven households can place tremendous strain on these original systems.”
Assessing Your System’s Condition
Before planning upgrades, a thorough assessment is essential. Warning signs that your electrical system needs immediate attention include:
- Flickering lights when appliances run
- Frequently tripped breakers or blown fuses
- Warm or discolored outlets or switches
- Buzzing sounds from outlets or panels
- Burning smells near electrical components
- Two-prong outlets throughout the home
- Original Federal Pacific or Zinsco panels
A certified electrician with experience in heritage homes can provide a comprehensive evaluation, identifying both hazards that require immediate attention and less urgent upgrades that can be phased in over time.
Safety First: Essential Electrical Upgrades
Critical Systems to Address
While some aspects of electrical renovation allow for flexibility and phasing, certain elements should be prioritized for safety:
Service Panel Upgrades Upgrading from original 60-amp service to modern 200-amp capacity is typically necessary to meet contemporary demands. This usually involves:
- Replacing the main panel
- Upgrading the service entrance cable
- Coordinating with your utility company
- Obtaining proper permits and inspections
Hazardous Wiring Replacement Certain wiring types require prompt replacement:
- Aluminum wiring (fire hazard due to connection deterioration)
- Degraded cloth-wrapped wiring
- Any wiring with damaged insulation
- Knob-and-tube sections that may remain in walls
Grounding System Implementation Many mid-century homes lack proper grounding, evidenced by two-prong outlets. Adding a complete grounding system:
- Protects sensitive electronics
- Reduces shock hazards
- Allows for proper GFCI protection
- Creates pathways for fault currents
GFCI Protection Installation Ground Fault Circuit Interrupter protection is essential in:
- Kitchens (especially near sinks)
- Bathrooms
- Outdoor outlets
- Garage spaces
- Basements
Working with Heritage Home Considerations
When upgrading electrical systems in mid-century homes, several unique challenges require thoughtful solutions:
Accessing Wiring in Distinctive Walls Mid-century homes often feature materials that are difficult to open and repair:
- Wood paneling
- Lath and plaster construction
- Concrete or terrazzo floors
- Built-in cabinetry and features
“The goal is to upgrade systems with minimal disruption to original materials,” notes heritage home contractor Rebecca Chen. “Sometimes that means creative approaches like running new wiring through closets or existing chases rather than opening walls.”
Documentation Before Opening Walls Before any intrusive work begins:
- Photograph all visible original features
- Create detailed drawings of built-ins or distinctive elements
- Work with your electrician to identify least-invasive access routes
Phased Approaches for Budget Management When full rewiring isn’t immediately feasible:
- Address critical safety concerns first
- Create a prioritized plan for remaining updates
- Consider partial rewiring of key areas (kitchens, home offices)
- Add dedicated circuits for high-demand areas while planning more comprehensive updates
Preserving Period Lighting While Enhancing Function
The Significance of Mid-Century Lighting Design
Lighting in mid-century homes wasn’t just functional—it was an integral architectural element with distinctive characteristics:
Architectural Integration
- Recessed soffit lighting highlighting ceiling planes
- Hidden cove lighting creating ambient glow
- Built-in lighting in cabinetry and shelving
- Indoor-outdoor lighting continuity
Distinctive Fixture Types
- Geometric pendant fixtures
- Tension-pole floor-to-ceiling lamps
- Wall-mounted sconces with distinctive shades
- Atomic and starburst chandelier designs
- Globe fixtures in various configurations
Technological Innovation
- Early track lighting systems
- Integrated fluorescent fixtures
- Novel dimming systems
- Indoor-outdoor lighting continuity
“Mid-century lighting designers like Gino Sarfatti, George Nelson, and Isamu Noguchi approached lighting as sculpture,” explains architectural historian Margaret Williams. “Their fixtures weren’t just illumination—they were integral design elements expressing the optimism and innovation of the era.”
Approaches to Lighting Preservation and Enhancement
Restoring Original Fixtures
When original lighting remains, restoration is often the most authentic approach:
- Rewiring with modern, safety-compliant components
- Converting to LED-compatible sockets where appropriate
- Repairing or fabricating damaged shades or diffusers
- Cleaning and refinishing metal components
The Palmers, owners of a 1962 California contemporary in Denver, discovered original recessed soffit lighting behind later renovations. “We carefully restored the continuous lighting track, but replaced the original incandescent system with LED strips that provide the same warm glow while using a fraction of the electricity,” explains homeowner Michael Palmer.
Finding Period-Appropriate Replacements
When original fixtures are missing or beyond repair:
- Source vintage fixtures from architectural salvage
- Consider quality reproductions from specialty manufacturers
- Commission custom recreations based on period documentation
- Explore contemporary fixtures inspired by mid-century aesthetics
Resources for authentic replacements include specialized lighting dealers, online marketplaces for vintage items, and manufacturers who produce licensed reproductions of iconic designs.
Integrating Modern Technology with Period Aesthetics
Today’s lighting technology can enhance period fixtures while improving functionality:
- Replace inefficient incandescent bulbs with warm-temperature LEDs
- Add discreet smart controls to vintage fixtures
- Incorporate tunable lighting to adjust color temperature
- Install modern dimmers compatible with LED technology
“The key is choosing the right color temperature,” advises lighting designer James Chen. “Most mid-century homes were designed around the warm glow of incandescent lighting. Choose LEDs in the 2700-3000K range to maintain that authentic ambiance.”
Room-by-Room Lighting Considerations
Living Areas Mid-century living spaces typically featured layered lighting:
- Perimeter soffit or cove lighting for ambient illumination
- Statement ceiling fixtures in conversation areas
- Task lighting via distinctive floor and table lamps
- Accent lighting highlighting architectural features or art
When upgrading, maintain this layered approach while incorporating modern controls that allow flexible use of the space.
Kitchens Kitchen lighting presents particular challenges, as original illumination rarely meets contemporary standards:
- Preserve distinctive fixtures over dining areas or islands
- Supplement with unobtrusive under-cabinet LED lighting
- Consider recessed ceiling fixtures that match original details
- Incorporate task lighting that doesn’t compete with period aesthetics
Bathrooms Original bathroom lighting often combined functional and decorative elements:
- Wall sconces flanking mirrors (often with distinctive shades)
- Overhead fixtures with frosted glass or acrylic diffusers
- Integrated lighting in medicine cabinets or vanities
When upgrading bathroom lighting, balance period aesthetics with the practical requirements of daily grooming routines.
Outdoor Integration Indoor-outdoor connection was fundamental to mid-century design, with lighting playing a key role:
- Restore original exterior fixtures where possible
- Ensure proper weatherproofing and GFCI protection
- Consider subtle landscape lighting that highlights architectural features
- Maintain visual continuity between interior and exterior lighting
Case Study: Comprehensive Electrical Renovation in a 1959 Rambler
The experience of the Martinez family illustrates a successful approach to electrical upgrading while preserving period lighting integrity.
Their 1959 rambler in Minneapolis featured the original 60-amp fuse box, cloth-wrapped wiring, and an eclectic mix of original and replacement lighting fixtures. Their multi-phase approach included:
Phase 1: Critical Safety Upgrades
- Replaced Federal Pacific panel with new 200-amp service
- Installed GFCI protection in kitchen and bathrooms
- Addressed aluminum wiring connections with proper remediation
- Added smoke and carbon monoxide detectors
Phase 2: Strategic Rewiring
- Created dedicated circuits for kitchen appliances
- Added properly grounded outlets in home office areas
- Rewired bathroom with adequate capacity for modern needs
- Installed new wiring for exterior lighting and security
Phase 3: Lighting Restoration and Enhancement
- Restored original recessed soffit lighting with LED technology
- Sourced period-appropriate replacements for missing dining area fixture
- Rewired and reinstalled original bedroom sconces
- Added discreet smart home controls while maintaining vintage aesthetics
“We approached the project with a ‘preserve what you can, upgrade what you must’ mentality,” explains homeowner Sofia Martinez. “Our electrician worked with our restoration contractor to access wiring through attic spaces and closets, minimizing damage to original walls and ceilings.”
Working with Professionals: Finding the Right Expertise
Successful electrical upgrading in heritage homes requires specialized knowledge. When selecting professionals:
Look for electricians with:
- Specific experience in heritage or mid-century homes
- Understanding of older wiring systems
- Willingness to collaborate with preservation specialists
- Creative approaches to minimizing structural impact
- Knowledge of period-appropriate solutions
Consider involving:
- Preservation consultants who can advise on historical significance
- Lighting designers familiar with mid-century aesthetics
- Restoration specialists who can repair original fixtures
- Documentation specialists who can record original features
The most successful projects typically involve collaboration between electrical safety experts and those with knowledge of architectural preservation.
DIY Opportunities and Limitations
While major electrical work requires professional expertise, homeowners can tackle certain aspects:
- Replacing switch plates and outlet covers with period-appropriate styles
- Basic fixture cleaning and restoration
- Simple fixture rewiring (with proper guidance)
- Research and sourcing of authentic replacement fixtures
However, stay within your skill level and legal limitations—most jurisdictions require licensed electricians for significant electrical work.
Planning Your Electrical Upgrade: A Timeline Approach
Given budget constraints, most heritage homeowners benefit from a phased approach:
Immediate (Month 1-3):
- Professional safety assessment
- Address critical hazards (faulty panels, damaged wiring)
- Install smoke/CO detectors
- Add GFCI protection in key areas
Near-term (Months 3-12):
- Service panel upgrade
- Dedicated circuits for high-demand areas
- Rewiring of kitchen and bathrooms
- Restoration of key lighting fixtures
Long-term (Year 1-3):
- Comprehensive rewiring as budget allows
- Restoration or replacement of all lighting fixtures
- Smart home integration if desired
- Documentation of all systems for future reference
Conclusion: Illuminating the Past, Safely
Electrical systems in mid-century homes present a unique preservation challenge—balancing the aesthetic integrity of distinctive lighting design with the non-negotiable requirements of electrical safety. By understanding both the technical needs and the design significance of your home’s original systems, you can create solutions that enhance functionality while honoring architectural intent.
The most successful approaches recognize that mid-century architects and designers were themselves innovators, embracing the newest technologies of their time. They would likely appreciate thoughtful integration of modern electrical capabilities that respect their original vision while making these homes viable for contemporary living.
Through careful planning, appropriate professional guidance, and a commitment to preserving what makes these homes special, you can create electrical systems that are both safe for today and authentic to the mid-century vision of tomorrow.
Do you have questions about upgrading the electrical systems in your heritage home? Share your specific challenges in the comments below, or contact us directly for personalized guidance.
Next week: “Hidden Heating Systems: Restoring Radiant Floor Heat in Mid-Century Homes”


Leave a Reply