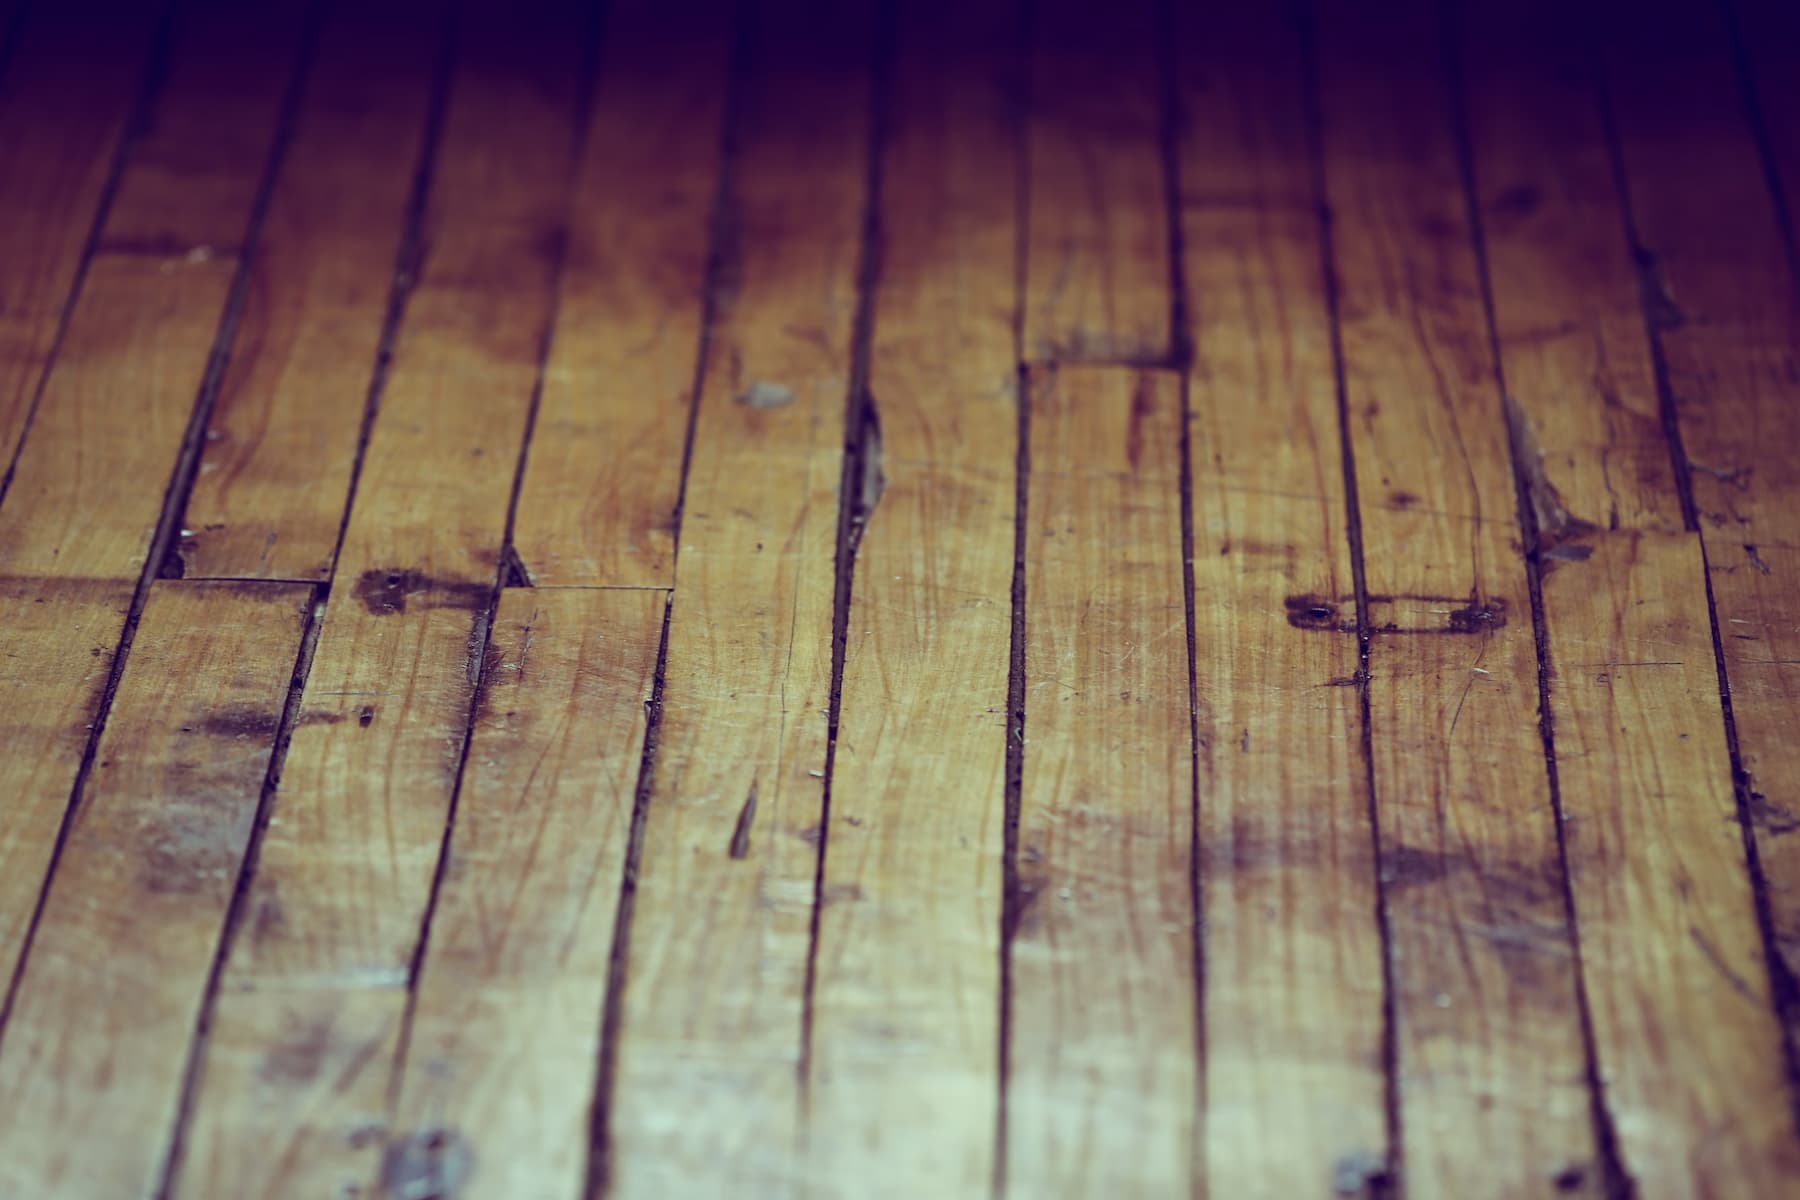
One of the most cherished features of a mid-century home is often hidden right beneath your feet. Original hardwood floors tell a story of craftsmanship and quality that’s increasingly rare in modern construction. When you pull back that old carpet or linoleum to reveal neglected hardwood, you’re not just uncovering a floor – you’re rediscovering a piece of your home’s history.
At Clyne Heritage Homes, we believe these original elements deserve preservation whenever possible. In this guide, we’ll walk you through the process of bringing those vintage hardwood floors back to life, balancing historical authenticity with modern durability.
The Discovery Phase: What’s Really Under There?
Before diving into restoration, take time to properly assess what you’re working with:
Identifying Your Wood Type
Mid-century homes typically feature oak, maple, or pine flooring, each with distinct grain patterns and hardness levels. Oak, with its prominent grain and excellent durability, was the most common choice in homes built between 1940-1970. Maple offers a smoother, more consistent appearance, while pine (more common in earlier homes) shows more character but dents more easily.
Run your hand across the grain and note the pattern – oak has visible pores, maple appears more uniform, and pine often has more knots and wider planks. This identification helps determine appropriate restoration techniques and finishing products.
Assessing Damage
Catalog the floor’s condition thoroughly:
- Surface damage: Scratches, water stains, and minor discoloration
- Structural issues: Loose boards, significant cupping (edges higher than centers), or severe water damage
- Missing sections: Areas requiring board replacement
- Previous finishes: Signs of wax, varnish, or polyurethane
Take photos and measurements of problem areas before proceeding. In heritage homes, some “character marks” tell the story of the house and might be worth preserving rather than eliminating completely.
The Preparation: Setting Up for Success
Gather Your Tools and Materials
For a comprehensive hardwood floor restoration, you’ll need:
- Floor sander (drum sander for serious refinishing, orbital for lighter work)
- Edge sander for corners and edges
- Hand scraper for detailed areas
- Vacuum with HEPA filter
- Tack cloths
- Sandpaper (various grits from 36-120)
- Wood filler matching your wood type
- Stain (if desired)
- Finish (polyurethane, oil, or wax depending on desired authenticity)
- Applicators (brushes, lambswool applicator, or cloth)
- Protective gear (respirator, eye protection, knee pads)
Prepare the Space
- Remove all furniture and fixtures
- Pull baseboards if possible (number them for reinstallation)
- Address any protruding nails or staples
- Thoroughly clean the floor of dust and debris
- Seal off the work area from the rest of the house with plastic sheeting
The Restoration Process: From Worn to Wonderful
1. Structural Repairs First
Address any structural issues before sanding:
- Secure loose boards by adding finish nails where needed
- Replace severely damaged boards with salvaged wood of the same species and age when possible
- Fill large cracks or holes with wood filler slightly darker than your floor color (it will appear lighter when sanded)
For authenticity in a mid-century home, consider consulting architectural salvage yards for period-appropriate replacement boards rather than using new lumber, which rarely matches the grain density of older woods.
2. The Sanding Journey
Sanding is a progressive process requiring patience:
First Pass (Coarse Grit) Begin with 36 or 40 grit sandpaper for floors with heavy finish buildup or significant damage. For floors in better condition, start with 60 grit. Sand in the direction of the grain, moving the sander steadily without lingering in one spot.
Mid-Range Sanding Progress to 80 grit, again following the grain. The floor should begin to look more uniform, with major imperfections removed.
Fine Sanding Finish with 100-120 grit for a smooth surface that accepts stain evenly. The higher the grit, the smoother the finish, but don’t exceed 120 for floors that will be stained, as very smooth surfaces can reject stain.
Edge Work Use an edge sander to reach areas the drum sander can’t access, matching the same grit progression. Hand scrape corners and detailed areas.
After each sanding phase, vacuum thoroughly and wipe with a tack cloth before proceeding to the next grit.
3. The Cleaning Interlude
After sanding is complete:
- Vacuum meticulously with a HEPA filter vacuum
- Tack the entire floor at least twice
- Allow dust to settle, then tack again
- Check for missed spots or imperfections in good lighting
4. To Stain or Not to Stain?
For authentic mid-century aesthetics, consider these approaches:
Authentic to Period Many mid-century homes featured natural or lightly stained floors that highlighted the wood’s character. Medium-tone stains like “Provincial” or “Special Walnut” offer period-appropriate warmth without appearing too contemporary.
Natural Finish Skipping stain entirely honors the original wood. Simply applying a clear finish allows the natural patina of aged wood to shine through – often the most authentic approach for heritage homes.
If choosing to stain:
- Apply with a lint-free cloth in the direction of the grain
- Work in manageable sections, wiping excess stain after 5-10 minutes
- Allow 24 hours of drying time before applying finish
5. The Finishing Touch
Selecting the Right Finish
For mid-century authenticity:
- Oil-based polyurethane offers durability with an amber glow that complements heritage woods
- Tung oil provides a natural, low-sheen finish typical of the period
- Wax finishes were common in the original construction but require more maintenance
Apply at least three coats of your chosen finish, sanding lightly (220 grit) between coats for optimal adhesion. Allow each coat to dry completely according to manufacturer instructions – rushing this step ruins all your previous work.
Living With Your Restored Floors
Proper care extends the life of your restoration:
- Wait at least 72 hours before replacing furniture (use felt pads on all pieces)
- Avoid wet mopping for the first month
- Use only cleaners specifically formulated for your finish type
- Consider area rugs in high-traffic zones to preserve the finish while maintaining the vintage aesthetic
Preserving History, One Board at a Time
Restoring original hardwood floors is more than a renovation project – it’s an act of preservation that connects us to the craftsmanship of previous generations. Your restored floors will continue telling your home’s story for decades to come, with a new chapter that speaks to your stewardship of its heritage.
In our next post, we’ll explore how to select period-appropriate area rugs that complement your newly restored floors while protecting your investment. Until then, we’d love to see your hardwood restoration projects – share your before and after photos with us on Instagram @clyneheritagehomes!
Have questions about your specific hardwood restoration project? Contact us through our website for personalized advice that honors your home’s unique character.


Leave a Reply