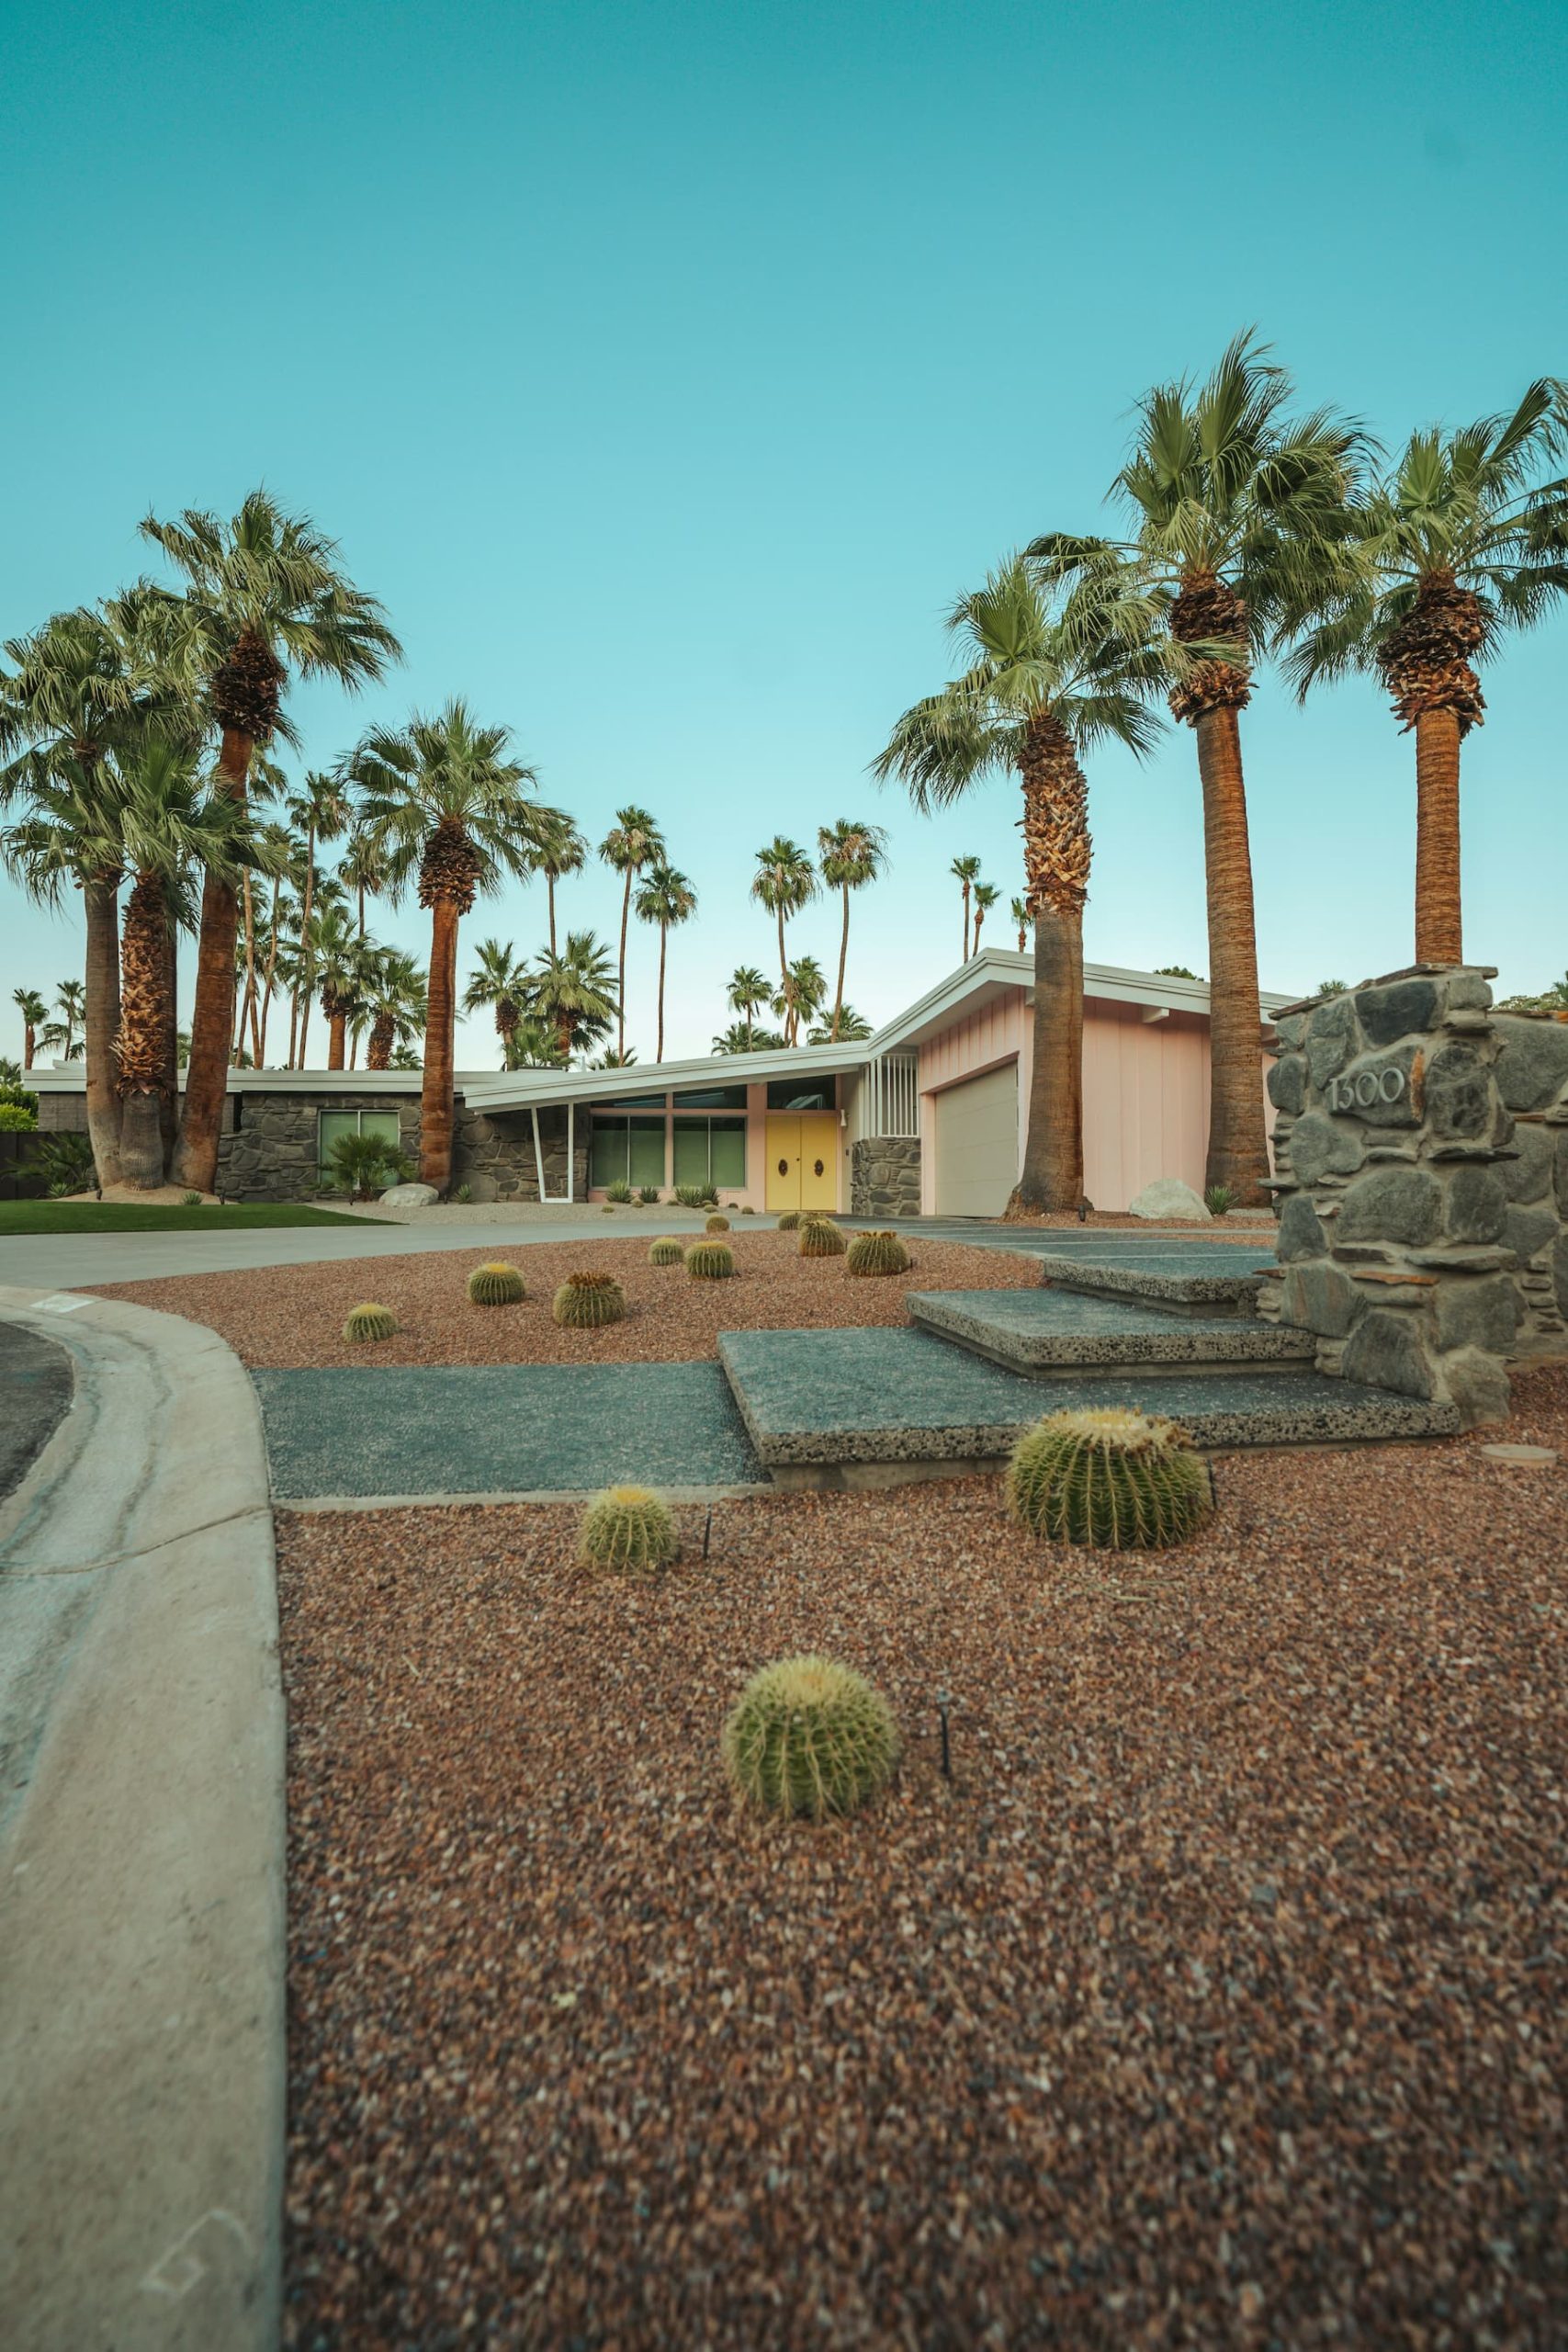
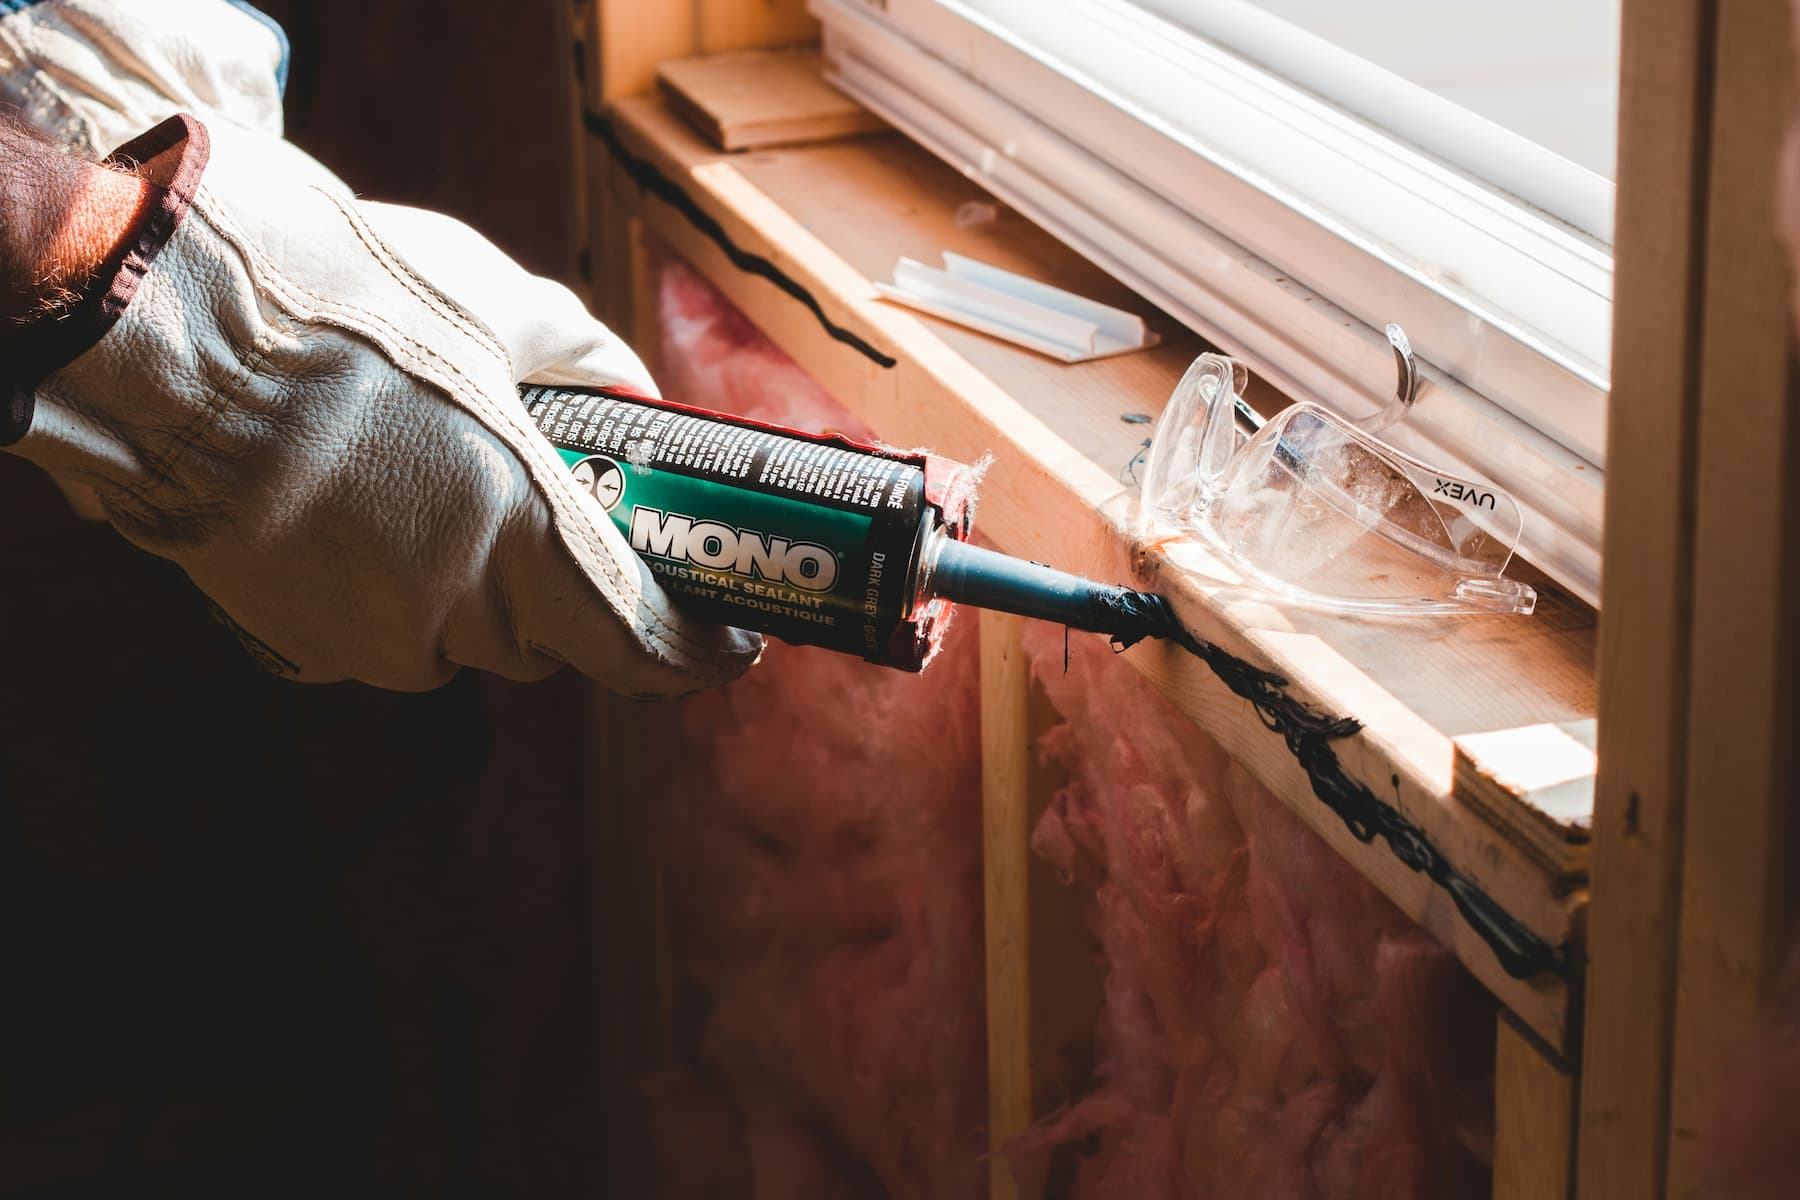
Few elements define the character of a mid-century home more distinctly than its windows. The expansive glass, minimal frames, and innovative configurations of mid-century windows weren’t just stylistic choices—they fundamentally changed the relationship between indoor and outdoor spaces, bringing nature into daily living in revolutionary ways.
Today, homeowners of mid-century properties face a significant dilemma when these windows begin showing their age: restore the originals or replace them with modern alternatives? It’s a decision that impacts aesthetics, energy efficiency, home value, and environmental footprint.
In this guide, we’ll examine the factors to consider when deciding between restoration and replacement, providing the information you need to make the choice that best aligns with your priorities.
Understanding Mid-Century Window Types
Before evaluating options, it’s helpful to understand what makes mid-century windows distinctive:
Common Mid-Century Window Styles:
- Clerestory windows: High, horizontal windows that allow light while maintaining privacy
- Floor-to-ceiling glass: Dramatic walls of glass that blur indoor/outdoor boundaries
- Corner windows: Windows that meet at corners without heavy supports
- Ribbon windows: Horizontal bands of windows that create panoramic views
- Jalousie windows: Glass louvers that can be angled open for ventilation
Common Materials:
- Steel frames (thin profiles with industrial appeal)
- Aluminum frames (lightweight with minimal sightlines)
- Wood frames (typically with cleaner lines than earlier styles)
These distinctive elements contribute significantly to your home’s architectural integrity and market value as a mid-century property.
The Case for Restoration
Architectural Authenticity
Original windows are integral to your home’s design language. The proportions, sightlines, and profiles of mid-century windows were carefully considered by architects of the period. Restoring rather than replacing preserves these design intentions.
“When you replace original windows, you’re not just changing a building component—you’re altering the fundamental design principles of the home,” explains architectural historian Margaret Wilson. “The thin frames and specific proportions of mid-century windows create a rhythm and connection to the outdoors that modern replacements often fail to replicate.”
Material Quality
Many original mid-century windows were constructed from old-growth wood or high-quality steel—materials that are difficult or impossible to source today. These materials often have inherent durability that, when properly maintained, can last indefinitely.
Steel windows, in particular, can be restored to function like new while maintaining their distinctive industrial aesthetic. The narrow sightlines of original steel windows are nearly impossible to replicate with modern materials.
Environmental Considerations
Window restoration is inherently more environmentally friendly than replacement:
- Reduced landfill waste: Restoring keeps materials out of landfills
- Lower embodied carbon: No new manufacturing emissions
- Resource conservation: No new raw materials required
- Local labor: Restoration typically employs local craftspeople rather than factory production
A study by the National Trust for Historic Preservation found that it can take between 40-80 years for a new energy-efficient window to save enough energy to recover the carbon expended in creating it.
Cost Factors in Restoration
Restoration costs vary widely based on window condition, style, and your location, but typically include:
Typical Restoration Processes:
- Removing built-up paint and corrosion
- Replacing broken glass with period-appropriate replacements
- Repairing or replacing damaged wood, steel, or hardware
- Restoring operation mechanisms
- Adding weatherstripping for improved efficiency
- Refinishing frames and hardware
- Installing interior or exterior storm windows for energy performance
While the upfront cost can sometimes match or exceed replacement, restoration often proves more economical in the long run due to the superior durability of original materials.
The Case for Replacement
Energy Efficiency Arguments
The primary argument for window replacement is typically energy efficiency. Modern windows offer:
- Double or triple glazing with insulated glass units
- Low-E coatings that reflect infrared light
- Gas fills (argon or krypton) that reduce heat transfer
- Thermal breaks in frames to reduce conduction
- Factory-applied weathersealing
These features can significantly reduce energy loss compared to single-pane originals, potentially reducing heating and cooling costs.
Practical Considerations
Replacement may make practical sense when:
- Original windows are missing or were previously replaced inappropriately
- Deterioration is extremely severe (particularly with wood windows affected by rot)
- Operation is critically important (such as for emergency egress)
- Noise reduction is a primary concern
- Lead paint remediation would be prohibitively expensive
Finding Appropriate Replacements
If replacement is your path, consider:
Historically Sensitive Options:
- Aluminum replacements with thermal breaks can approximate the look of original thin-profile windows
- Custom wood windows made to match original dimensions
- Some manufacturers now offer specific “mid-century modern” lines designed to complement homes of this period
Key Details to Match:
- Profile thickness
- Glass division patterns
- Operation style (casement, awning, etc.)
- Sightlines and proportions
- Finish color and texture
Cost Factors in Replacement
Replacement costs typically include:
- Window units themselves (which vary dramatically in price)
- Removal and disposal of original windows
- Installation labor
- Potential modifications to openings
- Interior and exterior trim repair
- Painting or finishing
While mass-produced vinyl replacements may seem economical initially, they rarely match the aesthetic quality of mid-century originals and may detract from home value.
Finding the Middle Ground: The Hybrid Approach
Many preservationists and sustainability experts advocate for a nuanced approach that combines restoration with selective modifications:
Retrofit Options:
- Adding interior storm windows: Maintains exterior appearance while adding an insulating air gap
- Weather-stripping original frames: Dramatically reduces air infiltration
- Repairing and tuning operating mechanisms: Ensures proper closure
- Replacing single-pane glass with laminated single panes: Improves sound and energy performance without changing appearance
- Adding clear UV films: Reduces heat gain and fabric fading
These approaches often achieve 85-90% of the efficiency of full replacement while preserving architectural integrity.
Making Your Decision: A Balanced Framework
To decide what’s right for your home, consider this evaluation framework:
1. Assess Original Window Condition
Have a restoration specialist evaluate your windows’ condition. Sometimes what appears to be severe deterioration is actually quite repairable, while other times damage may be too extensive.
2. Clarify Your Priorities
Rank these factors based on your personal situation:
- Architectural authenticity
- Energy performance
- Environmental impact
- Sound insulation
- Maintenance requirements
- Budget constraints (short and long-term)
- Home value considerations
3. Get Multiple Perspectives
Consult with:
- Window restoration specialists
- Energy efficiency experts
- Historic preservation consultants
- Other mid-century homeowners (via forums or local groups)
4. Consider a Phased Approach
You might:
- Restore the most visible windows and replace others
- Add storm windows now and reassess efficiency gains before deciding on replacement
- Replace severely damaged windows while restoring those in better condition
Real-World Performance Comparisons
Studies comparing restored original windows with storm additions versus complete replacements show surprising results:
- The University of Michigan study found that restored wood windows with storms performed almost identically to new double-pane replacements in energy testing
- Life-cycle analysis shows that quality restored windows often outlast new replacements by decades
- The embodied energy calculations strongly favor restoration from an environmental perspective
Making It Personal: Our Experience at Clyne Heritage Homes
In our own restoration projects, we’ve found that the decision often comes down to the specific window and its context:
- For signature architectural features (like corner glass or distinctive clerestory configurations), we almost always restore
- For secondary spaces with heavily damaged windows, selective replacement with historically appropriate units often makes sense
- The visibility and architectural significance of specific windows should influence the decision
As Thomas Jensen, our lead restoration specialist puts it: “Windows are the eyes of the house. When you change them, you change the entire expression of the home. That change should never be taken lightly.”
Conclusion: Informed Choices Preserve Legacy
Whether you choose restoration, replacement, or a hybrid approach, the most important factor is making an informed decision that considers the architectural significance of your mid-century home alongside practical considerations.
Original windows connect us to the innovative spirit of mid-century design—the era’s faith in modernism, its celebration of new ways of living, and its reimagining of the relationship between indoors and outdoors. When preserved, these windows do more than serve a functional purpose; they maintain the authentic character and historical significance that make mid-century homes so special.
Have you restored or replaced windows in your mid-century home? Share your experience in the comments below. If you’re currently facing this decision and have specific questions, contact us for personalized guidance.